Turn your smartphone camera snapshots into beautiful fine art photographs
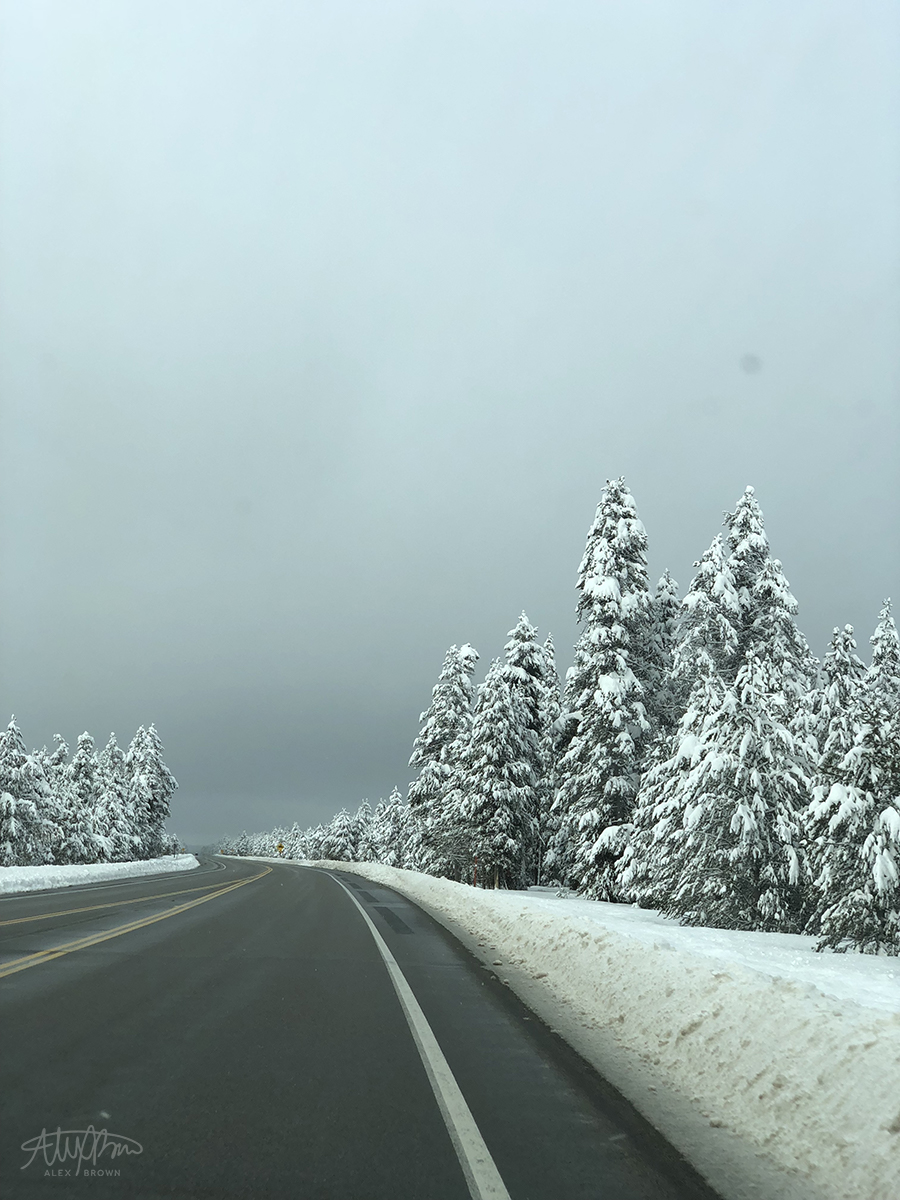
Over the Martin Luther King, Jr. holiday break, I took a trip through Island Park, Idaho on my way to northwestern Wyoming. I have driven through Island Park numerous times, but never before in the winter. The snow covered pine trees were beautiful against the gradient blue to white sky, and I knew I had to capture a picture of this!
I prefer to take any picture with my DSLR, however, in this case it was in the back seat and just barely out of reach to grab it and still get the shot in time. So, I went to my pocket and pulled out my smartphone camera on the iPhone X! After a few clicks of the shutter, I ended up with some shots.
Let me be completely honest… these smartphone photos are absolutely terrible! You probably are thinking to yourself “I could have gotten a better shot than this professional!”
Am I embarrassed about this photo I captured with my smartphone camera? Absolutely not! People typically underestimate how powerful a smartphone camera can be for fine art photography. All we have to do is extract the image’s potential!
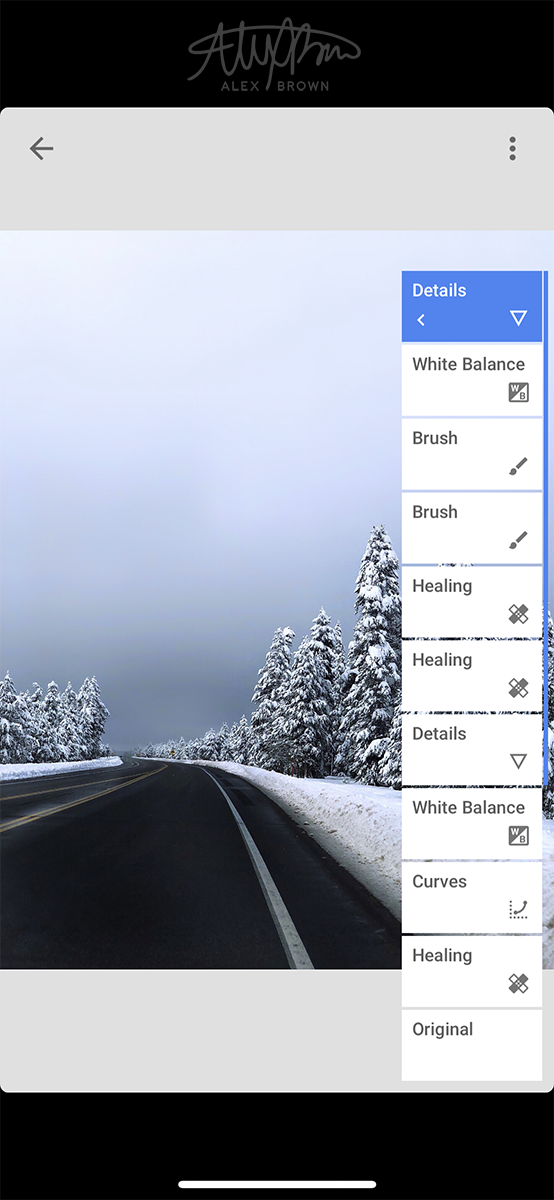
The middle man: Edit your smartphone photography with Snapseed!
I should preface this section by saying that I am in no way sponsored by Snapseed at all, but am totally up to it! Snapped is an amazing photo editing app that you can use to edit your smartphone photos. Before I found Snapseed, I totally believed that you could never get an amazing photo out of your smartphone camera. In order to get a photo from your smartphone that rivals one from your DSLR, it has to be edited! Here’s a quick screenshot to show you the individual steps I did to edit this smartphone photograph. While the number of steps may look overwhelming at first, treat it just as if you were editing a regular photo in photoshop. If you’re an everyday shooter, I’d recommend using the presets in the curves edits for maximum results.
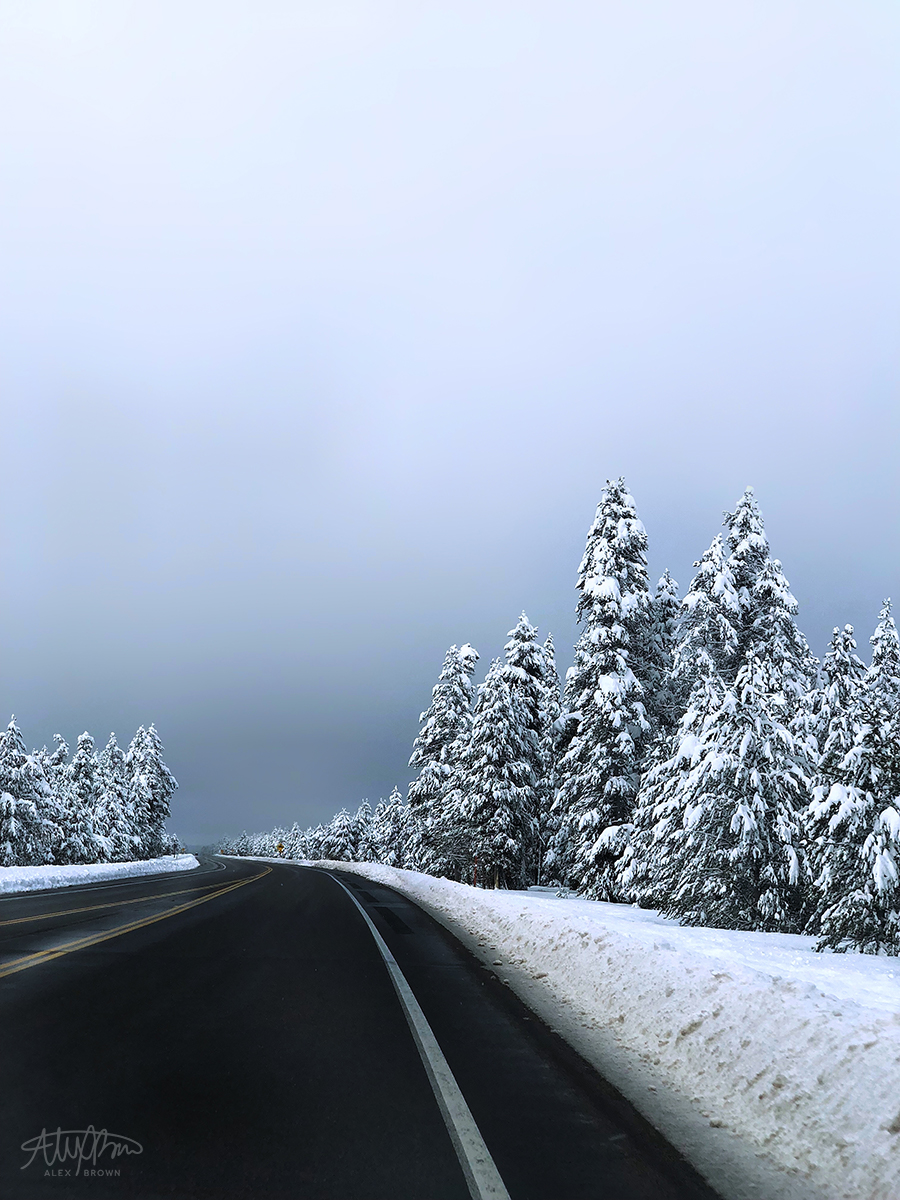
The Final Product: A Beautiful Winter Fine Art Photography Scene
After finishing my editing, the final product is a beautiful winter fine art photography shot, this take taken by smartphone. No matter what smartphone you have or what skill level you shoot at, anyone can become a smartphone photographer! For more tips on how to master smartphone photography check out this great guide by DigitalGuide.
My favorite shots during totality of the total solar eclipse over Rexburg, ID
On August 21, 2017, a rare phenomenon happened from the coast of Oregon to the coast of South Carolina: the total solar eclipse.
Throughout history, light has been seen as symbolic for goodness. However, for a total of two minutes, darkness from the total solar eclipse was seen as a symbol for peace and goodness.
While attending BYU-Idaho, I have enjoyed living in the small college town of Rexburg, Idaho. When word started going around that the center of the total solar eclipse would occur over our town, I knew I had to be in Rexburg for the total solar eclipse. Living in the path of totality meant that the moon would cover 100% of the sun (an eclipse), and that I was going to get some great shots.
With this in mind, I was surprised to find how empty the location I chose to shot at (Webster Flats) compared to all the people who had come to Rexburg. I knew I wanted to shoot the eclipse here because it’s iconic to the area and it’s one of Rexburg’s best kept shooting secrets. Plus, it has some awesome foreground elements and would give me a nice and open landscape.
While most were getting their eclipse glasses and solar filters for their telephoto lenses, I wanted to take a complete different approach when shooting the total solar eclipse. Instead of getting an up close shot, I wanted to get a shot that showed the landscape and the environment under the total solar eclipse. Here’s my favorite shot that I got of the total solar eclipse:
When shooting the solar eclipse, I was told I need to wear solar eclipse glasses and have a solar filter (ND filter that is a minimum of 16 stops) for your camera lens to prevent it from melting. During totality,
Both of these are true, but only in certain situations: You only wear solar eclipse glasses to look at the sun when it is not in totality; You only need a solar filter if you have a telephoto lens and plan to photograph the entire stages. During totality, it is safe to photograph the corona without a filter (you are actually supposed to take it off) and you can look at the sun with the naked eye.
During the solar eclipse itself, I was able to hear everyone from Rexburg (about 5-7 miles in town) cheer and hollar. Towards the end of totality, I captured this shot which shows the ground looking almost mars red. The coolest thing is how the sunset gradient remained in the sky while the foreground and the buildings were still spotlighted by the sun… natural light painting!
To see more of my solar eclipse photos and videos of the amazing 360º sunset, check it out on my instagram at http://www.instagram.com/calexbrown. I have posted a video that shows the 360º sunset in addition to a time-lapse that shows the light falling on the building.
For more information on the science behind a total solar eclipse, visit TimeAndDate.com. Also, check out awesome pictures of solar eclipse from National Geographic.
A behind-the-scenes look into the process of taking a photograph to getting it ready to print… on glass. (Part 1 of 2)
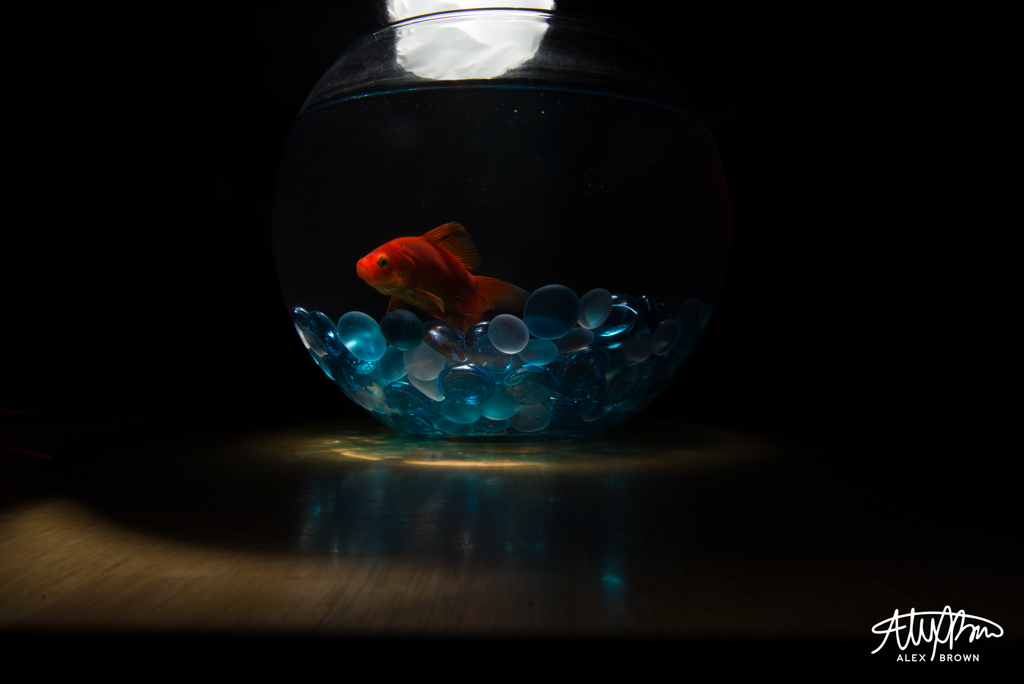
Remember the fish picture that I took earlier this fall? Well, I thought it would be the best candidate to try something new and different in the photographic printing world… glass printing! When my friend and fellow creative Caryn Esplin first brought up the idea of printing on glass, I immediately knew that I wanted to try this method by printing the fish!
In my personal opinion, the final images that we share with others as photographers are far less impressive than what I like to call SOOC or straight out of camera. Here’s the image of the fish as I took it, SOOC:
The lighting method that I used to take this picture was called SQIBB also known as studio quality lighting with invisible black background.
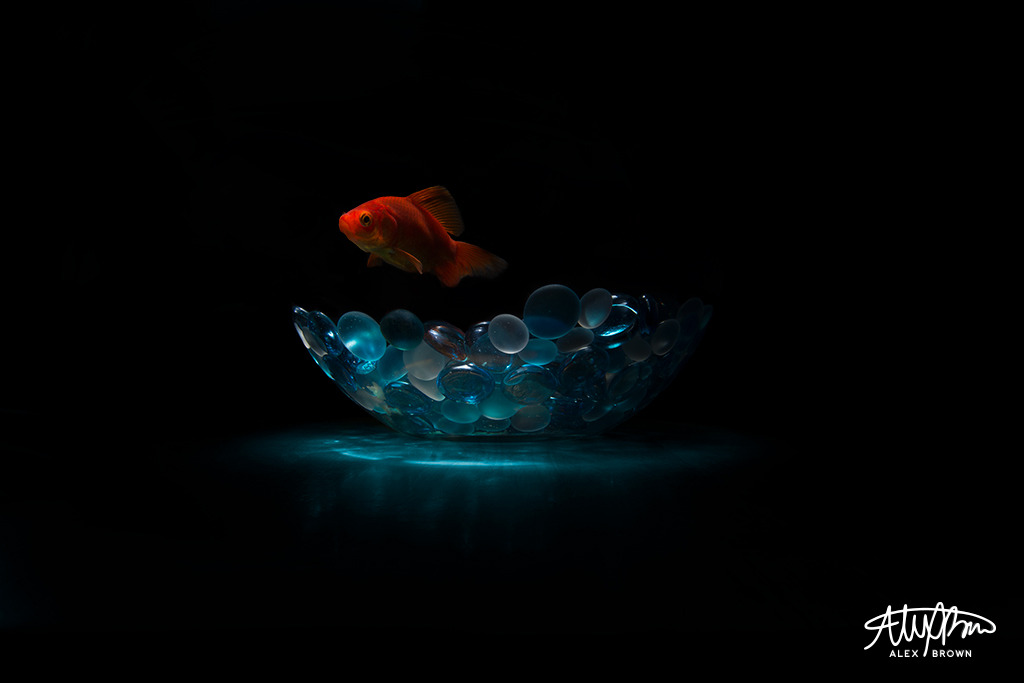
One thing that I think a lot of photographers tend to miss when taking photographs is basic design principles. After getting a critique from my friend and fellow creative Gerardo Sumano, he suggested that the fish was a bit too close to the rocks and it needed more proximity. I then took the advice and moved my fish up off the rocks. I also rotated him a bit more to the left which encourages an upward direction and is complementary to the amount of lead room that is present. I wanted to keep the fish pointed to the left because it feels more balanced with that higher mound of rocks on the right side of the fish bowl.
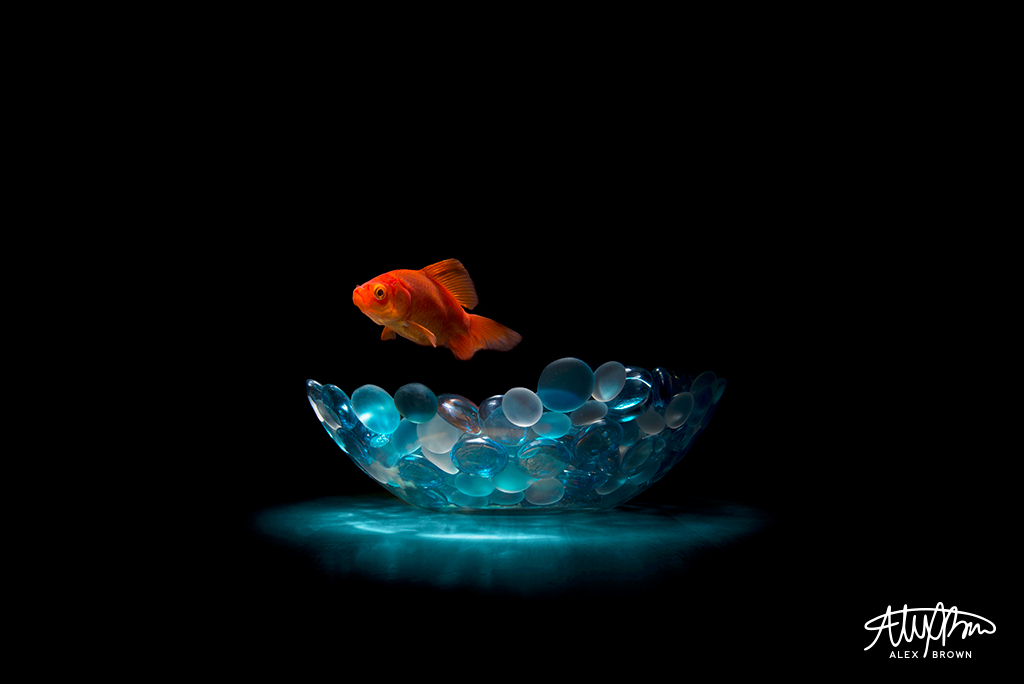
After getting the fish photoshopped to where I want him, I always like to duplicate my file and create a final FPO, for print only version. By doing this, I’m able to adjust the lighting and change color profiles in a separate file from the photoshop file where I did most of my edits. Plus with this method, If I need to make a change on the photoshop edits, I can do so, then have them update with the changes I made in each separate FPO file for the different printers and profiles I might use.
Stay tuned for Part 2 of 2 as it goes over the glass printing process itself and includes pictures of the final product! Until then, check out some pictures of glass printing from Pinterest.
Create awesome photographs at night with light painting
One of the things that I love most about photography is showcasing the delicacy of light. Photography at night is one of the most difficult environments that a photographer can shoot in. With any long exposure photography, a tripod is a must-have.
One of the masters of light painting is Dave Black. As a sports photographer, Dave Black understands the importance of photographing movement. When you combine movement with light and long exposures, Dave Black creates stunning light painting photographs that are beyond jaw-dropping.
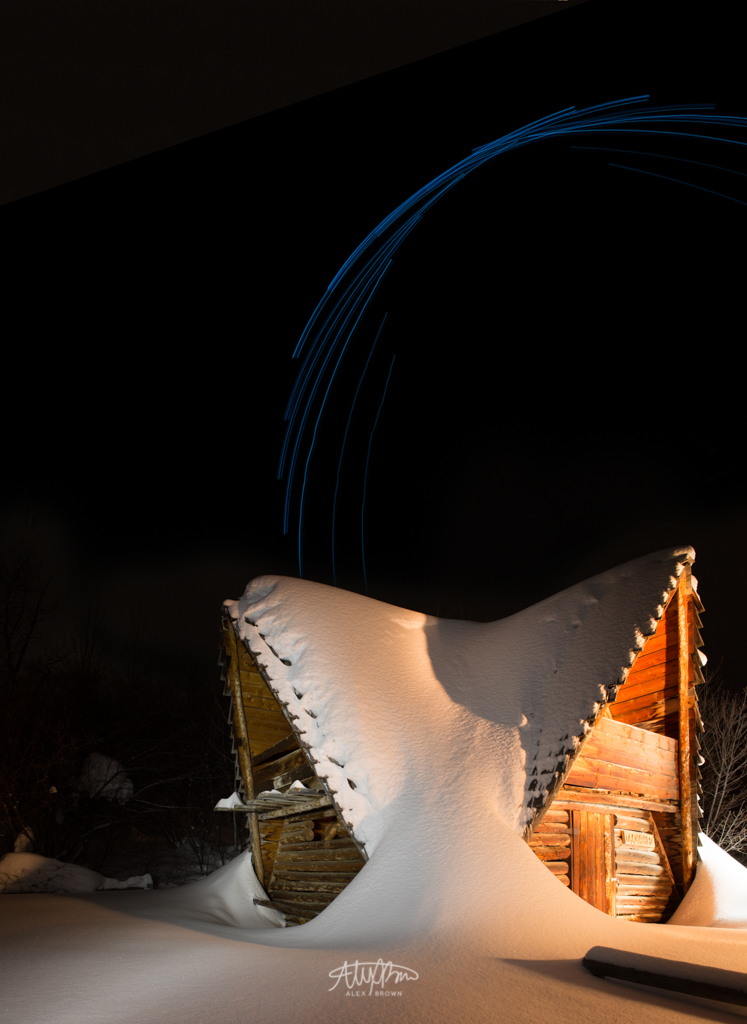
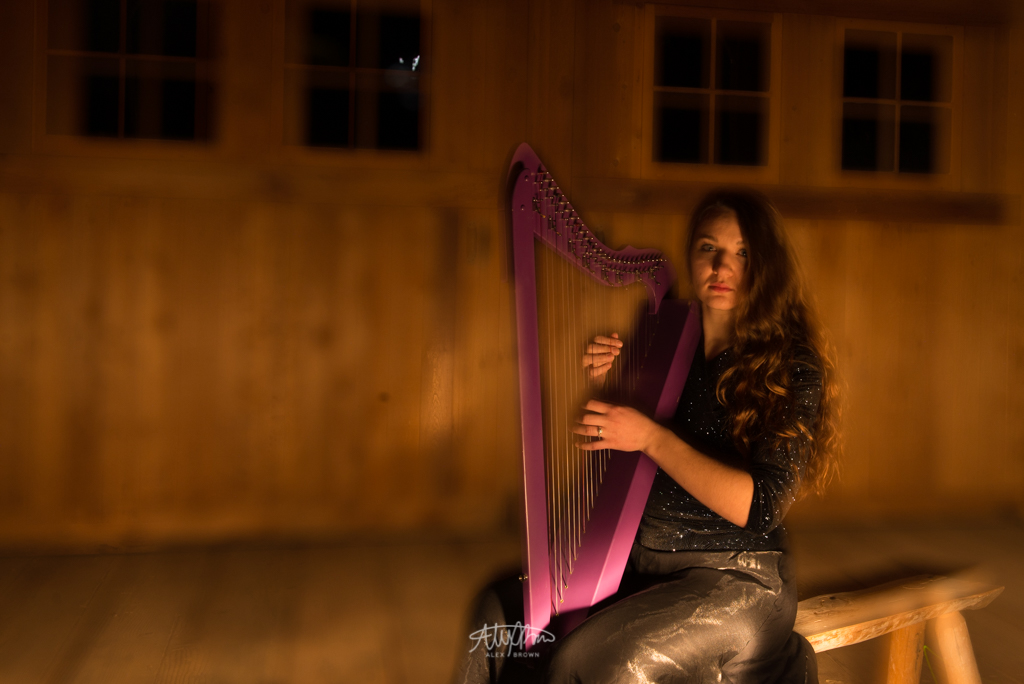
In homage to Dave Black’s light painting style, here’s an image that I took while on a photo excursion workshop in a Victor, Idaho barn. Armed with Yongnuo speedlights, 10 friends and I lined our tripods up inside this barn, turned off the lights, set our delayed shutters, and began walking around light painting the barn.
The reason I chose to show you guys this picture was because I love how it shows what light painting really is. Plus, I must admit Christine Taylor’s pose over to the left is pretty sweet as she flashes the person coming up the stairs with her awesome speedlight. (:
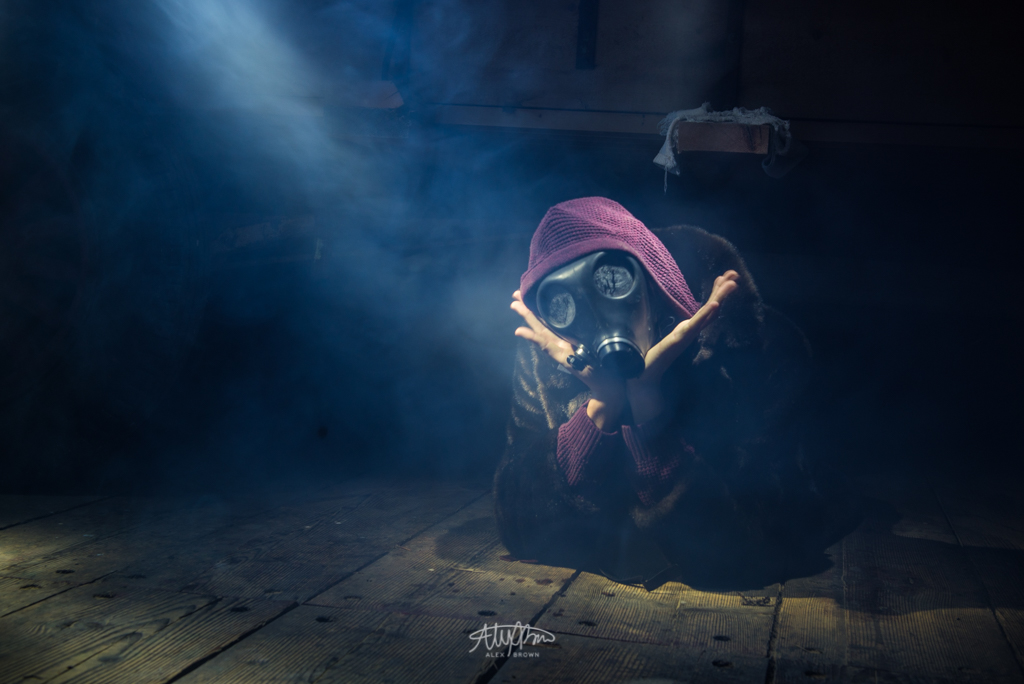
Light painting with people can be tricky, but if you add special effects such as fog and then top it with a creepy mask, you can get away with small movement that just adds to the photo. This was taken underneath that pioneer wagon you can see in the picture above.
Here’s another light painting of a shed on the same property. On this image, I actually placed an abstract light painting of a light orb that I took and made it look like an isolated set of star trails. Something that I want to point out about this picture is the two different color temperatures of the lights that were used to light paint this shed. The left side was light painted with an LED light while the right side of the shed was light painted with a halogen light. While most light painting is typically done with halogen lights, LED lights work just as well when it comes to light painting.
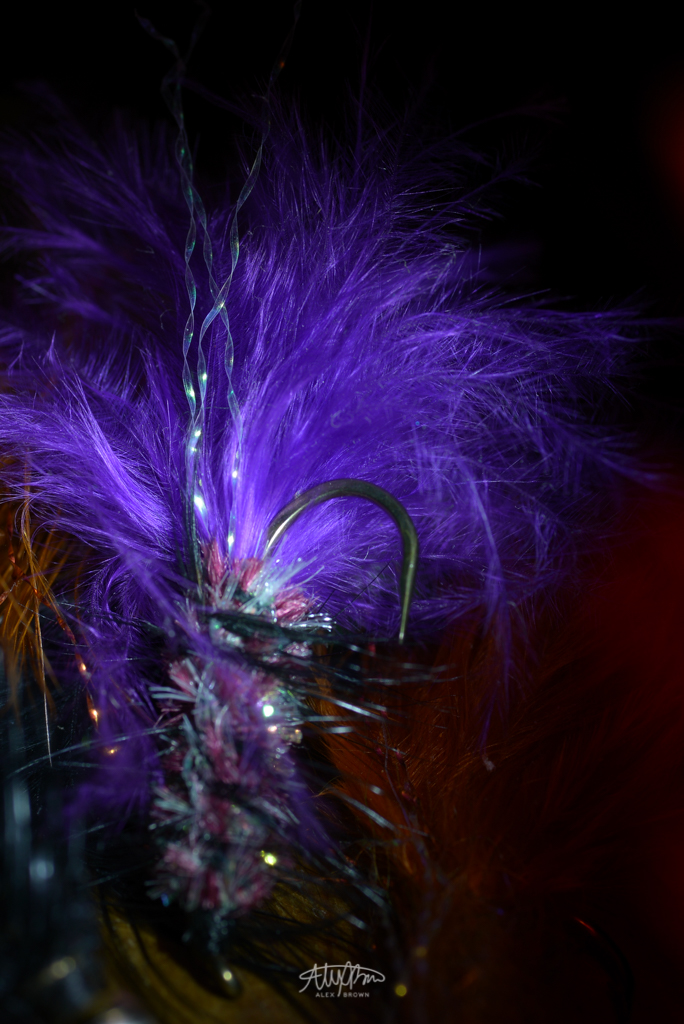
FAUX BOKEH
Bokeh, or background blur, is probably the most desired aspect when it comes to photography. By modifying the typical light painting technique, you can achieve this “faux bokeh” effect. First, you light paint the subject with your camera in focus. Then, you throw your lens out of focus using the manual focus ring and finish light painting the rest of the image. The hard part with light painting faux bokeh is to not paint over the same section in either round.
ABSTRACT
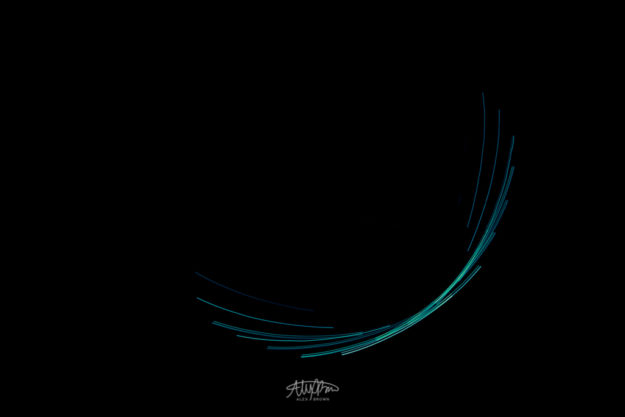
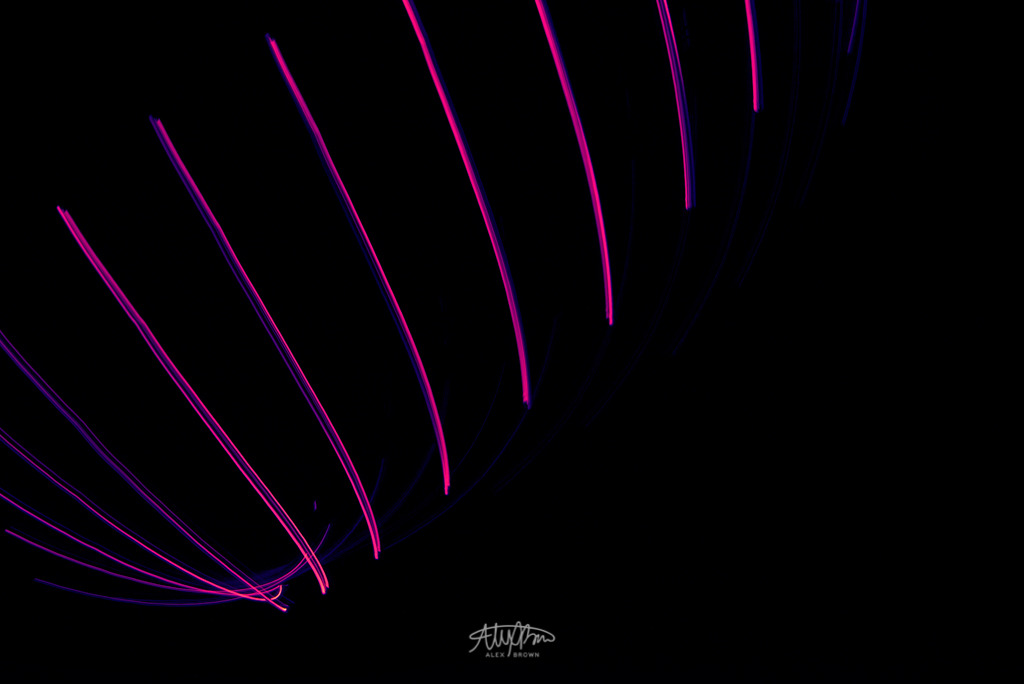
You guys should know by now how much I love abstract photography. What I love even more is when I can combine abstract photography with light painting. Photographing a light orb is super fun, yet is super challenging because you need to make sure you start your shutter at the right moment so you have a perfect overlapping light orb. Typically when photographing a light orb, you have a shutter speed of around 30 seconds. However, when photographing this light dome, I decided to get down on the ground of the barn and actually speed up my shutter speed. By speeding up my shutter, I was able to get some cool abstract shots which I then moved around in Photoshop and recolored to give a nice variation between these three.
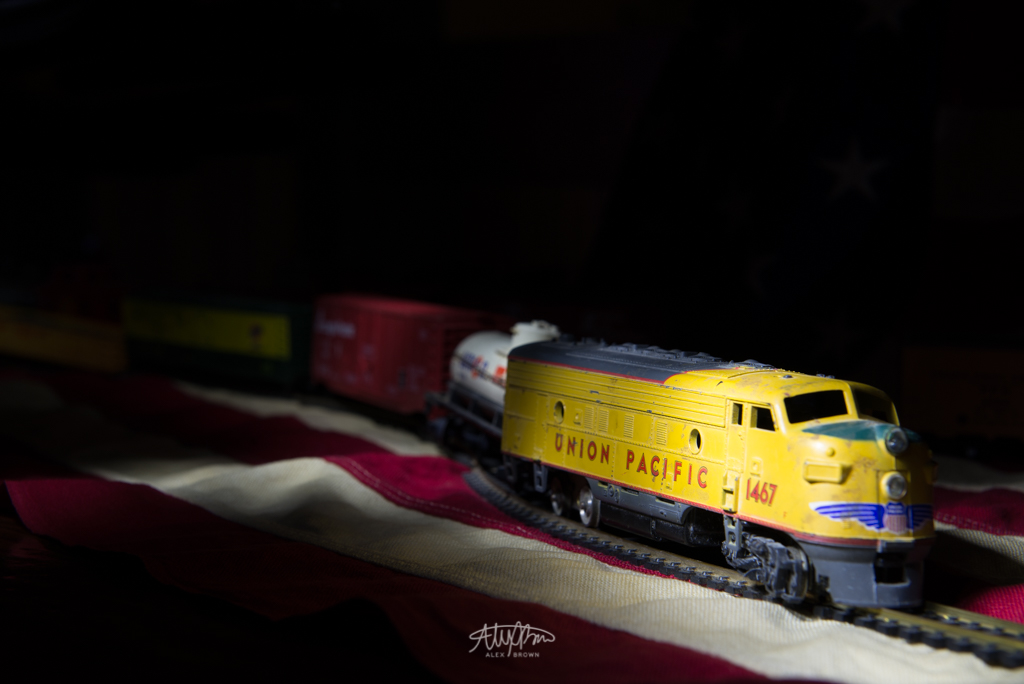
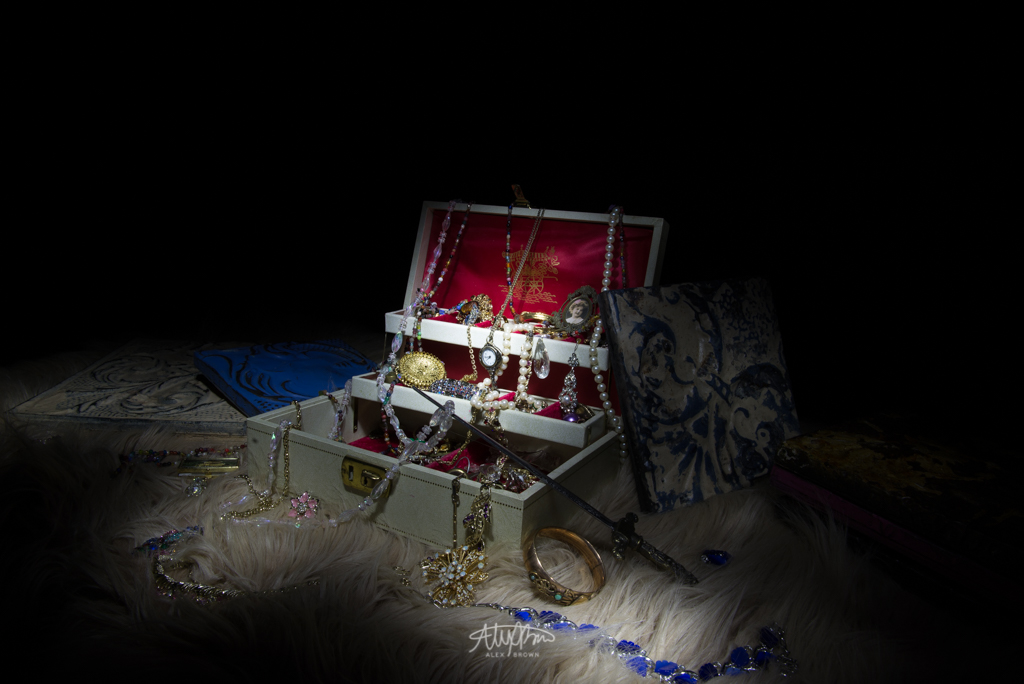
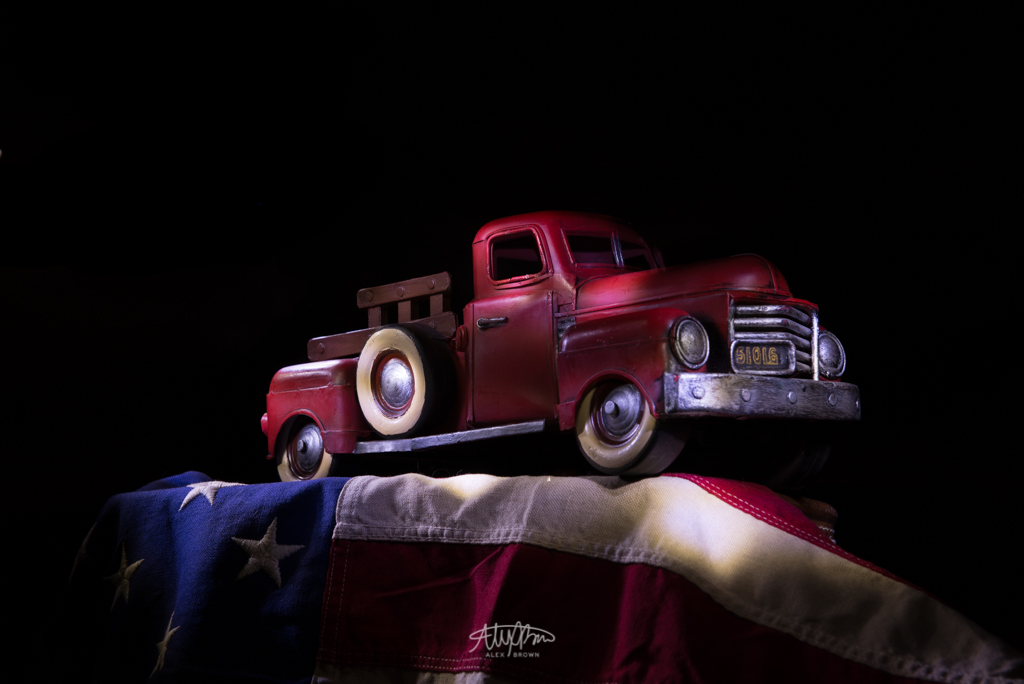
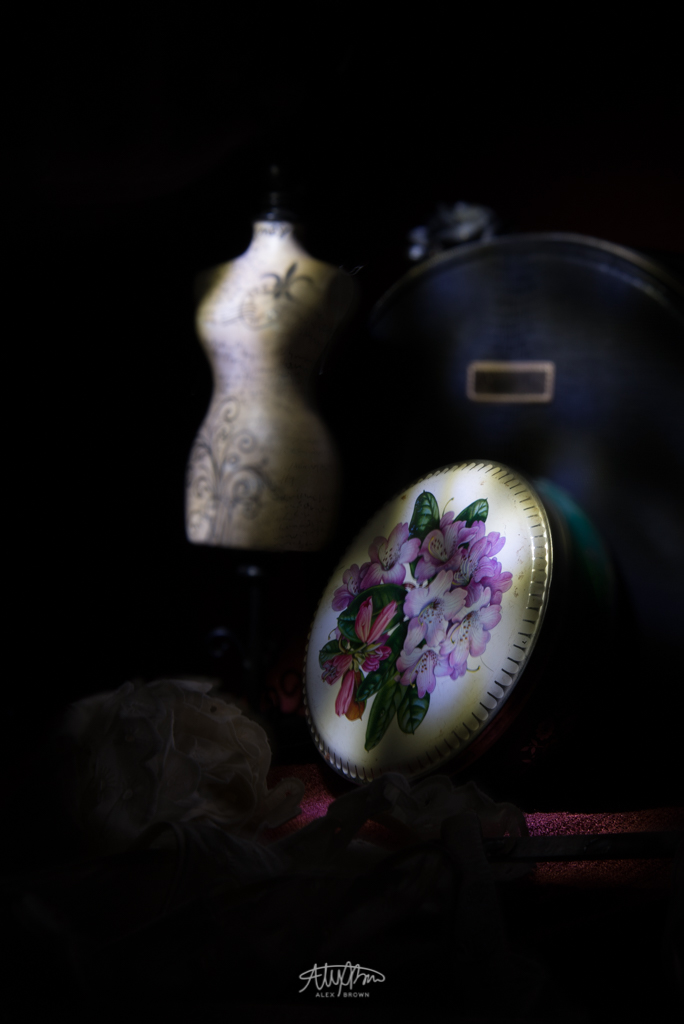
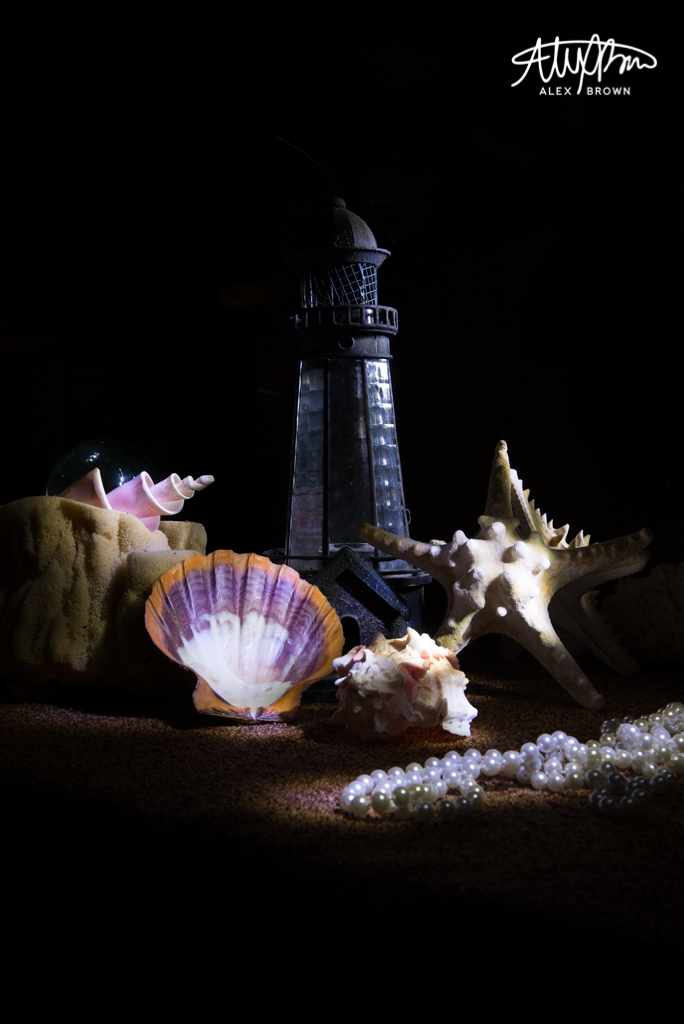
How you can take plain old tabletop still life photography and make it extraordinary with some still life light painting.
There’s something magical that happens when you have a still life setup on a tabletop and then all the lights go off. With a flashlight ready, still life photography comes to life when you add light painting.
Light painting is an advanced technique that photographers can use to add emphasis to certain subjects of an image. In order to successfully light paint, you need a tripod, a shutter speed around 15 seconds or longer and some cool subjects. It’s also mandatory that you have a completely dark room.
Still life light painting, or light painting in general, teaches you more about your camera since you have to rely on the touch and feel of your camera in the dark. Check out some more pictures by a master of still life light painting at Harold Ross’ Fine Art Photography website.
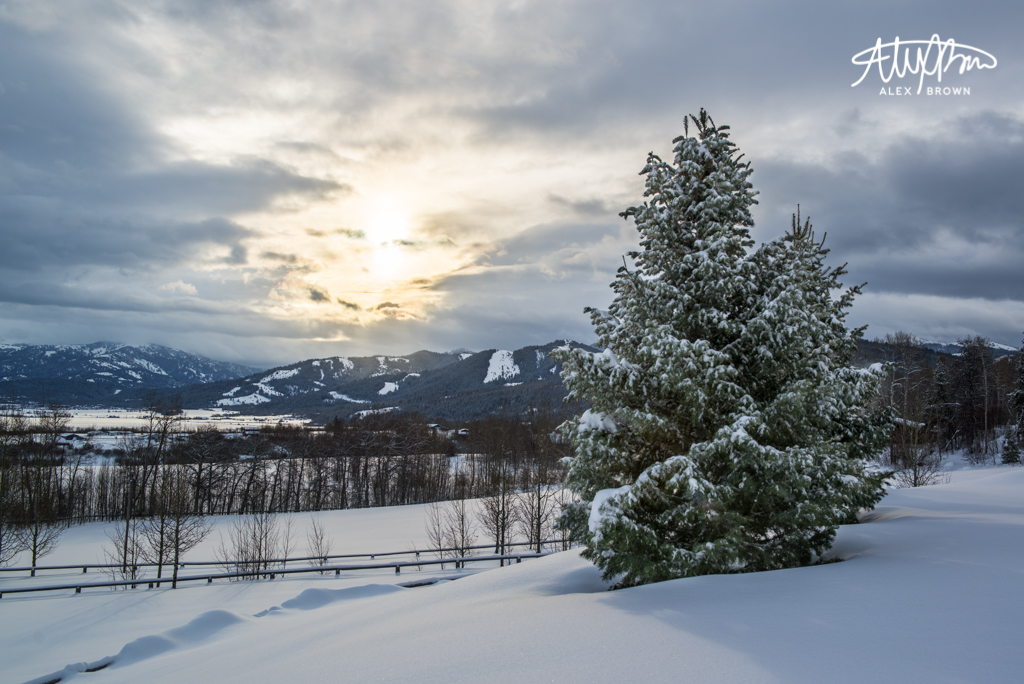
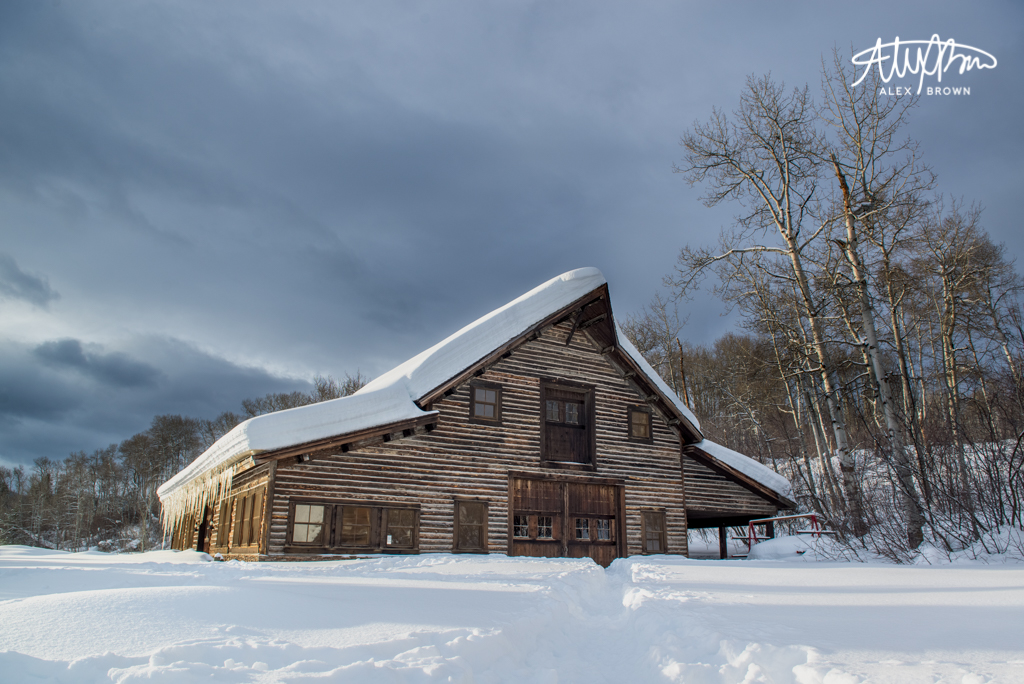
Fine art photography prints perfect for your home or office that showcase the winter season.
I love winter, especially in Idaho. Coming from North Carolina, we don’t have these beautiful winter, snowy landscapes because we don’t see a whole lot of snow! So being able to take pictures of these beautiful winter landscapes was a real treat for me. All of these fine art prints will be available shortly in my store.
On my photo excursion workshop that I participated in, we stayed at the beautiful Sky Mountain Lodge located in Victor, Idaho. Although it was cloudy most of the time, we stopped everything when the sun came out. While it was out, I was able to get these two beautiful winter landscape shots of the property.
This photography print is an HDR or High Dynamic Range photograph. This fine art print was created by taking the same image and combining three different exposures: one that’s too dark, one that’s too bright and one that is just right. By doing this, all areas in the image are exposed perfectly, details are enhanced and quality is increased.
This fine art photography print is also an HDR photograph, creating this beautiful winter barn landscape. To create additional contrast between the pure white snow on top of the barn, I increased the contrast in the clouds. This winter barn landscape would be great in a metal print or with a wood frame that matches the wood on the barn on itself.
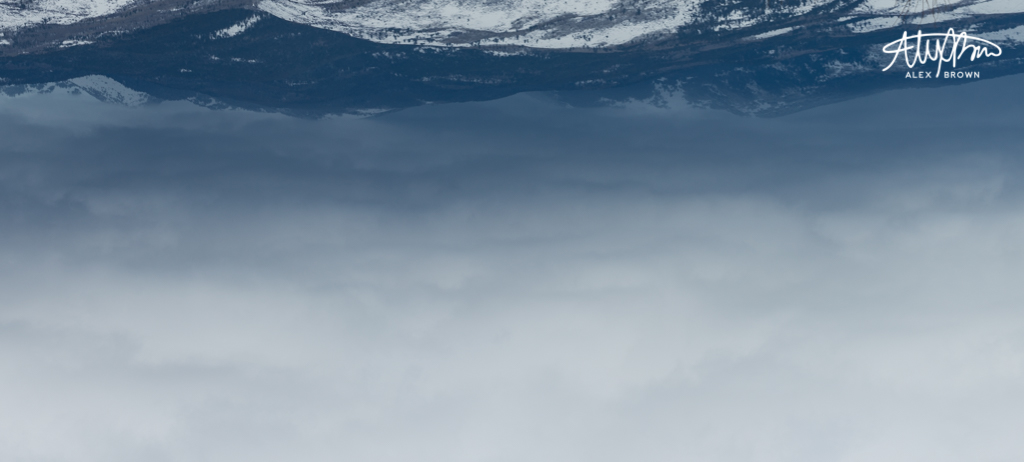
This is for those who enjoy more abstract fine art photography prints. This was taken with a Nikon 70-200mm zoom lens which allowed me to get the mountains on the other side of the lodge. I love the monochromatic color palette in this photograph and the natural gradients in the sky. I then decided to flip this picture horizontally and fell in love with this. I think the reason that this fine art photography print works so well flipped is because it’s softness at the bottom is inviting to the eye. Plus, you can always flip it the other way when you hang it above that big of sectional of yours. 😃
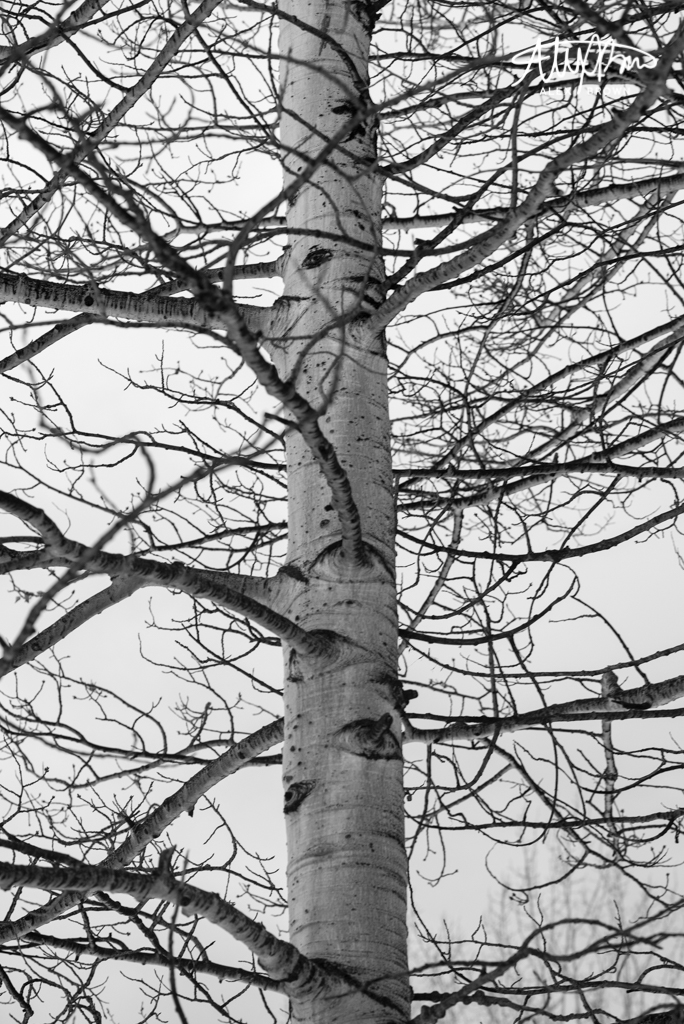
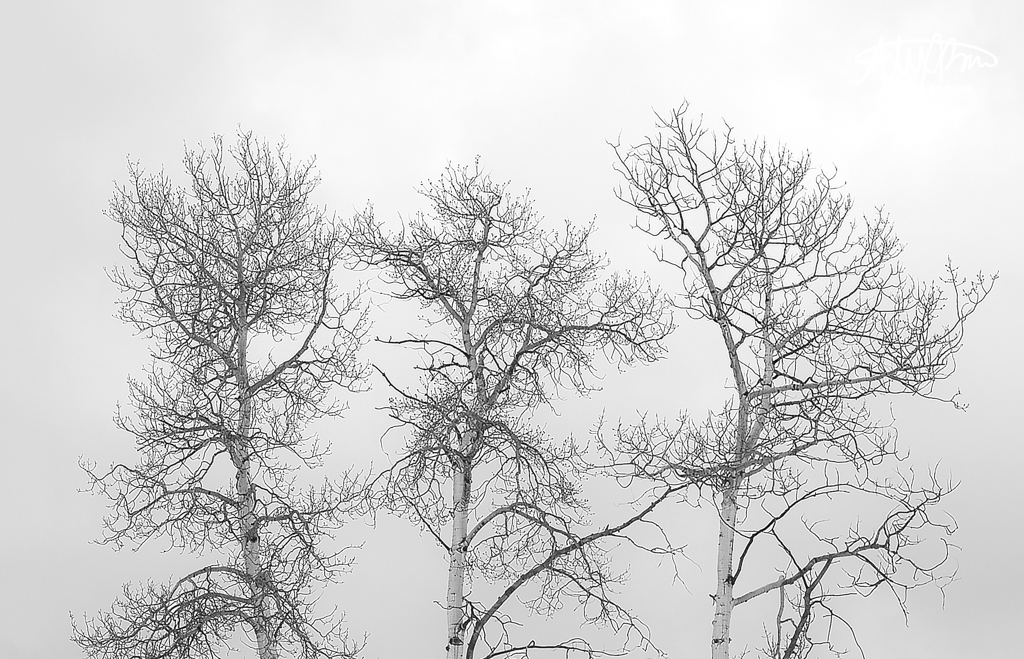
TREES PHOTOGRAPHY PRINTS
These two tree photography prints were actually inspired by some of my fondest travel memories. Often times on vacations or in travels, I will stay at the Hampton Inn by Hilton. I love how art consulting firm Artonomy has created something iconic for Hampton out of something simple and clean: black and white images. No matter what Hampton Inn Lobby you step foot into, three black and white images hang in the foyer and behind the front desk that “best communicate {the areas} local flavor.”
Images are also intended to spur conversation between team members and guests about local favorites. – Hampton Inn Brand Style Guide
One thing that I’ve always admired most about living in Idaho is the beautiful Aspen trees. With this in mind, I wanted to create that same conversational style that Hampton Inn has created with their black and white images and apply it to the area in which the photo excursion took place at — the Idaho Mountains.
Hi. I'm Alex Brown a creative designer who specializes in graphic design, branding, and photography. I'm graduating from Brigham Young University in Rexburg, ID, with an Associate's degree where I focused on mastering Visual Communication and Photography, I'm continuing my education at Utah Valley University where I plan to get a BFA in Graphic Design. I am from Charlotte, NC, and I currently live in the Salt Lake area.
Get Updated
Join 4 other subscribers
To place an order call or text me at 704.954.4146 or by sending me an email at c.alexbrown@me.com Dismiss


